Project Tracker
Watch the following Video and then read the instructions below to help you get started.
Getting Started:
-
Install git from http://git-scm.com/downloads and allow the installer to add git.exe to your PATH environment variable.
TIP: Ensure git.exe is available through your PATH Environment variable.
- Signup for a github account at: http://github.com/ if you dont have a github account
- Install node.js from the Node js
- Install jasmine-node using command npm install -g jasmine-node
- cd to the directory where you unzipped the tool (say G:\ProjectAdvisor) and run main.exe from that directory
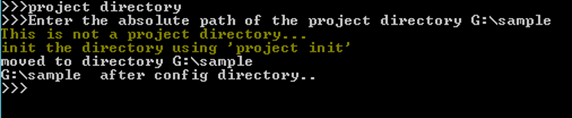
- Specify the directory where you want to copy the project code files using project directory command. Usage : project directory
It will prompt the user to enter absolute path of the destination directory. If the directory exists, the project tracking tool will be configured to that specified directory. Else a new directory is created and the tool will be configured to that directory. In the screenshot below, we are specifying G:\sample as the directory where the project files should be copied into.
-
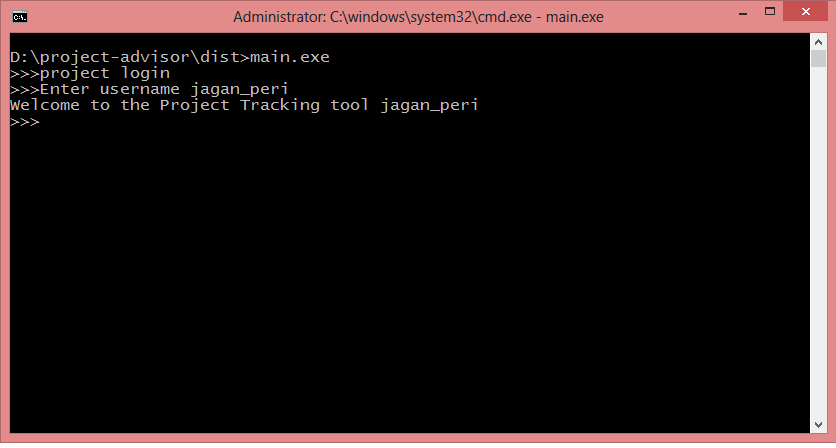
- Login to the tool using the project login command. Usage : project login
Use your firstname_lastname as your username when prompted by the tool..
-
Initialize the project using the project init command. This command will show the list of projects available and will prompt you for the project you want to work on.
Usage : project init
Enter the name of the project which you want to start working on, This command will also create a repo in your git hub account. When requested, provide correct user credentials of the git hub account.

- Complete the assignments by coding the activities in the project directory (G:\Samples\Src in the example below). Each project is broken into a set of activities. Once you have coded an activity, you can verify if your code is correct by running predefined test cases. The pre-defined tests are under the spec folder.
- Test your code against the predefined test suites by running the project submit command. Usage : project submit
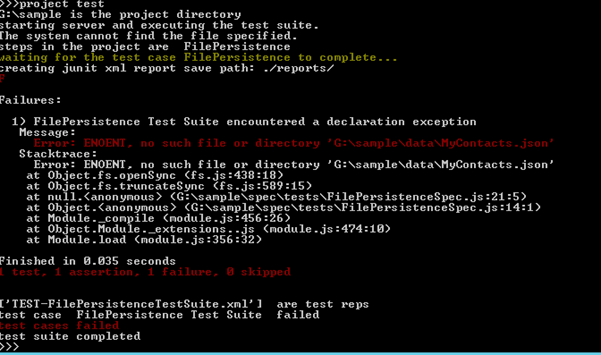
The project submit command will also push your changes to your personal project git repo once all tests for the given activity is completed. Repeat steps 7 and step 8, till all the project activities have been completed.
Other useful commands:
· project init --continue
Used in case of project init failure while creating github repo. If your github repo already exists for the project, you can either recreate it, or, clone your git hub repo into the directory.
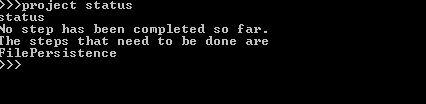
· project status
Used to know the current status of the user in the project. It shows the number of steps completed and the number of steps that are left to complete.
· project help
Used to print the help document on the console.
· project exit
Used to exit from the project tracking tool.