Android Navigation Drawer
Overview
You are going to learn about how to use Navigation Drawer in Android
Concepts
Android Navigation Drawer is a panel that can displays a list of options on left side of the screen .When clicked on each option user can be directed to a new Activity .It is usually hidden ,but revealed when swiped from left edge of the screen .It can also be opened when clicked on App Bar icon
Samples

For a navigation drawer to work ,you main XML file root must be a DrawerLayout .That means the xml file you are going to link with the Activity file on setContentView must have DrawerLayout tag as root
Drawer Layout has two parts , One for the Side-Menu and one more for the Actual Layout (FrameLayout).Tha Side menu will be displayed when Navigation Drawer is active and Actual Layout will be displayed when its closed
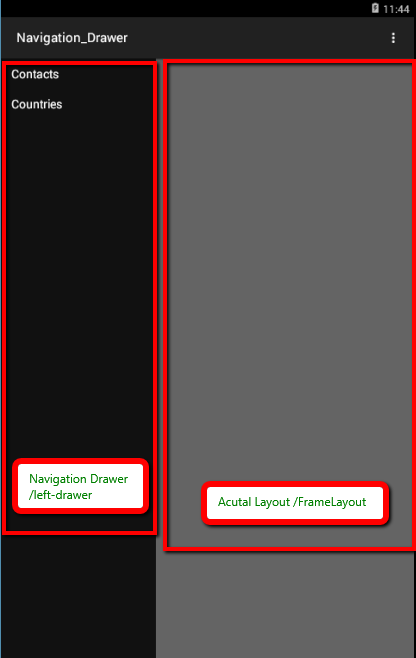
The Actual Navigation Drawer is nothing but a ListView and each ListItem is displayed as an option
Tutorial
Aim
1)To build a app with two options , Contacts and Countries .
2)When clicked on Contacts , Control goes to a new Activity called Contacts and displays it.
Steps
- Go to the folder Navigation-Drawer downloaded from the Tool and Import it in the Android Studio
-
Copy the below code into the activity_main_tutorial.xml file (Replace the existing code if any)
<android.support.v4.widget.DrawerLayout
xmlns:android="http://schemas.android.com/apk/res/android"
android:id="@+id/drawer_layout"
android:layout_width="match_parent"
android:layout_height="match_parent">

<FrameLayout
android:id="@+id/content_frame"
android:layout_width="match_parent"
android:layout_height="match_parent" />

<ListView android:id="@+id/left_drawer"
android:layout_width="240dp"
android:layout_height="match_parent"
android:layout_gravity="start"
android:choiceMode="singleChoice"
android:divider="@android:color/transparent"
android:dividerHeight="0dp"
android:background="#111"/>

</android.support.v4.widget.DrawerLayout>
-
Modify the Tutorial Activity java file (OnCreate Method) such that it looks like this .Leave other methods as it is
public class Tutorial extends Activity { private ArrayList<String>nav_menu_items; private DrawerLayout mDrawerLayout; private ListView mDrawerList; ... @Override public void onCreate(Bundle savedInstanceState) { super.onCreate(savedInstanceState); setContentView(R.layout.activity_main_tutorial); //Adding new menu items nav_menu_items=new ArrayList<String>(); nav_menu_items.add("Contacts"); nav_menu_items.add("Countries"); //We need Drawer Layout reference to Listen to Open/Close events mDrawerLayout = (DrawerLayout) findViewById(R.id.drawer_layout); //List View reference to set it to a list of items and listen to Onclick events mDrawerList = (ListView) findViewById(R.id.left_drawer); //Linking our Array List to the DrawerList mDrawerList.setAdapter(new ArrayAdapter<String>(this, android.R.layout.simple_list_item_1, nav_menu_items)); ... } } -
Run the Tutorial file by Right Clicking on the java file in Project Explorer and clicking on Run .
You will get a Blank Page as output , Slide your finger from the left edge to the right to see the Navigation Drawer

-
As you can see ,in the output ,you cant actually see The List items perfectly ,It is because we used the Default Layout File provided .(simple_list_item_1) . Now we can modify it by creating our own Layout File which contains only a TextView and use this as layout file for each list_item of Menu
Copy the following code in the nav_menu_item.xml file
<?xml version="1.0" encoding="utf-8"?>
<TextView xmlns:android="http://schemas.android.com/apk/res/android"
android:id="@android:id/text1"
android:layout_width="match_parent"
android:layout_height="wrap_content"
android:textAppearance="?android:attr/textAppearanceListItemSmall"
android:gravity="center_vertical"
android:paddingLeft="16dp"
android:paddingRight="16dp"
android:textColor="#fff"
android:background="?android:attr/activatedBackgroundIndicator"
android:minHeight="?android:attr/listPreferredItemHeightSmall"/>
-
Now change the line in Tutorial Activity where we set ArrayAdapter to this (uses the just created nav_menu_item.xml)
mDrawerList.setAdapter(new ArrayAdapter<String>(this,R.layout.nav_menu_item, nav_menu_items));
-
Re Run the Application . Voila You got a nice Navigation Drawer . You can customize it more .

-
Now we need to know how to Navigate from One Activity to another .This is done using Intents .An Intent is a communication object used to Transfer control to other Activities .
Add the following code to TutorialListenerClass
Context ctxt;

public TutorialListener(Context parent){
ctxt=parent;

}
@Override
public void onItemClick(AdapterView parent, View view, int position, long id) {
selectItem(position);
}
private void selectItem(int position) {
Intent intent;

//Showing What Item is clicked
Toast.makeText(ctxt, "Nav Item : " + position +" Clicked", Toast.LENGTH_SHORT).show();

//Create New Intent ,the second parameter should be the Activity it needs to load
intent = new Intent(ctxt, ContactsActivity.class);

//You need to call startActivity of Context , and pass Intent to it to start a new activity ,here ctxt is set in Constructor
ctxt.startActivity(intent);

}
Toast Description I have used a Toast above ,which is used for basic Debugging steps . It can be used to show the user , What currently is happening inside the APP
It needs 3 paramenters , Application Context ( The Context of the Activity which is running), Message ,and Length of Toast to be shown (It can be Toast.LENGTH_SHORT or Toast.LENGTH_LONG ).
show() method needs to be invoked for Toast to be shown
Here Application context (ctxt) is passed as a parameter to TutorialListenerClass
-
Use the Above Tutorial Listener Class in the Tutorial Activity
Append the following Code to Tutorial Activity's onCreate() method
mDrawerList.setOnItemClickListener(new TutorialListener(this));
Note :Whatever Class you add in OnItemClickListener must implement ListView.OnItemClickListener interface
We have also passed this (Tutorial Context ) ,to be able to use it with Next Activity's Toast and for StartActivity
-
Here You can see The output again when you Run Tutorial and Click on Contacts in Navigation Drawer
Task Navigation Drawer
Aim
Initially NavigationDrawerActivityneeds to be loaded with activity_navigation_drawer.xml Layout file
Its Navigation Drawer has two options , Contacts and Countries . (uses nav_menu_item.xml )
When clicked on Contacts , control goes to a new Activity called Contacts and displays it.(uses activity_contacts.xml )
Add a ListView Component in activity_contacts.xml with a new id "contacts_list"
When clicked on Countries , control goes to a new Activity called Countries and displays it. (uses activity_countries.xml )
Add a ListView Component in activity_countries.xml with a new id "countries_list"
Use NavigationDrawerListener to transfer the Control from one Activity to another
Contacts Activity should display list of Contacts fetched from contacts.json file in ./res/raw folder (name attribute value is to be displayed)
Contacts Activity should display the list of Contact names in a List View of id "contacts_list"
Countries Activity should display list of Countries fetched from countries.json file in ./res/raw folder (name attribute value is to be displayed)
Countries Activity should display the list of Country names in a List View of id "countries_list"
Project Sample Images

This is first screen
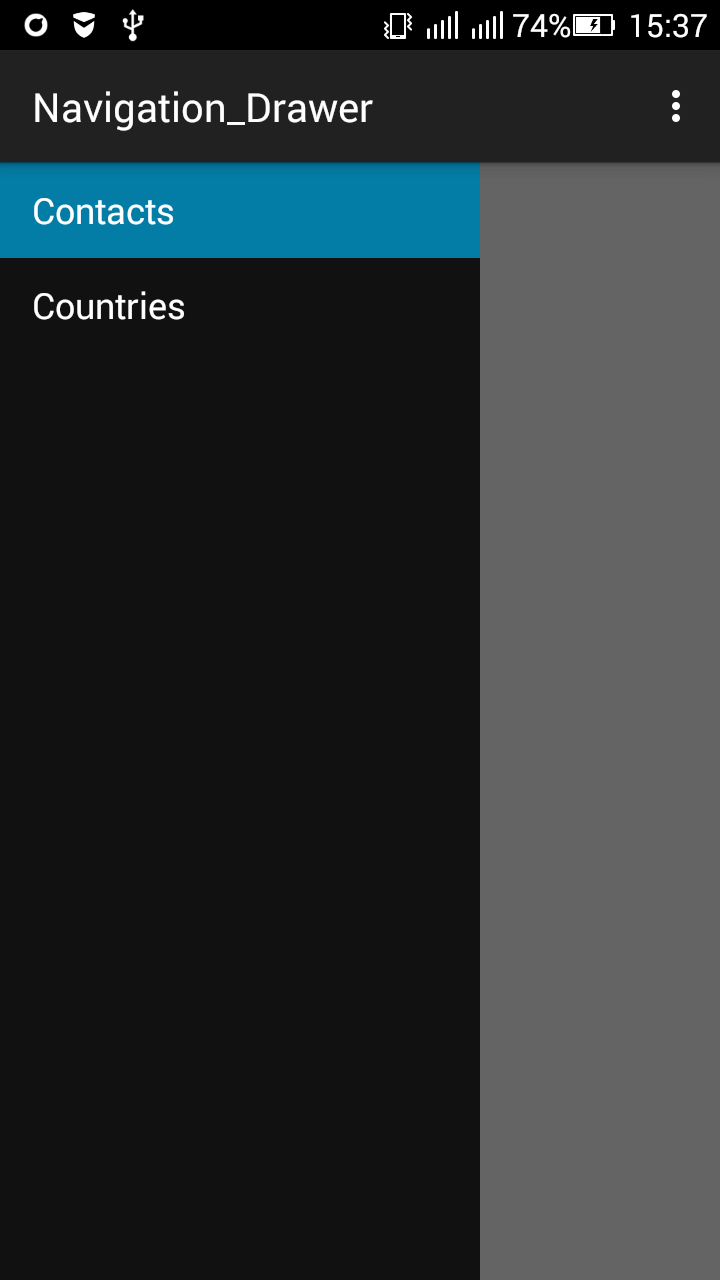
This is Navigation Drawer
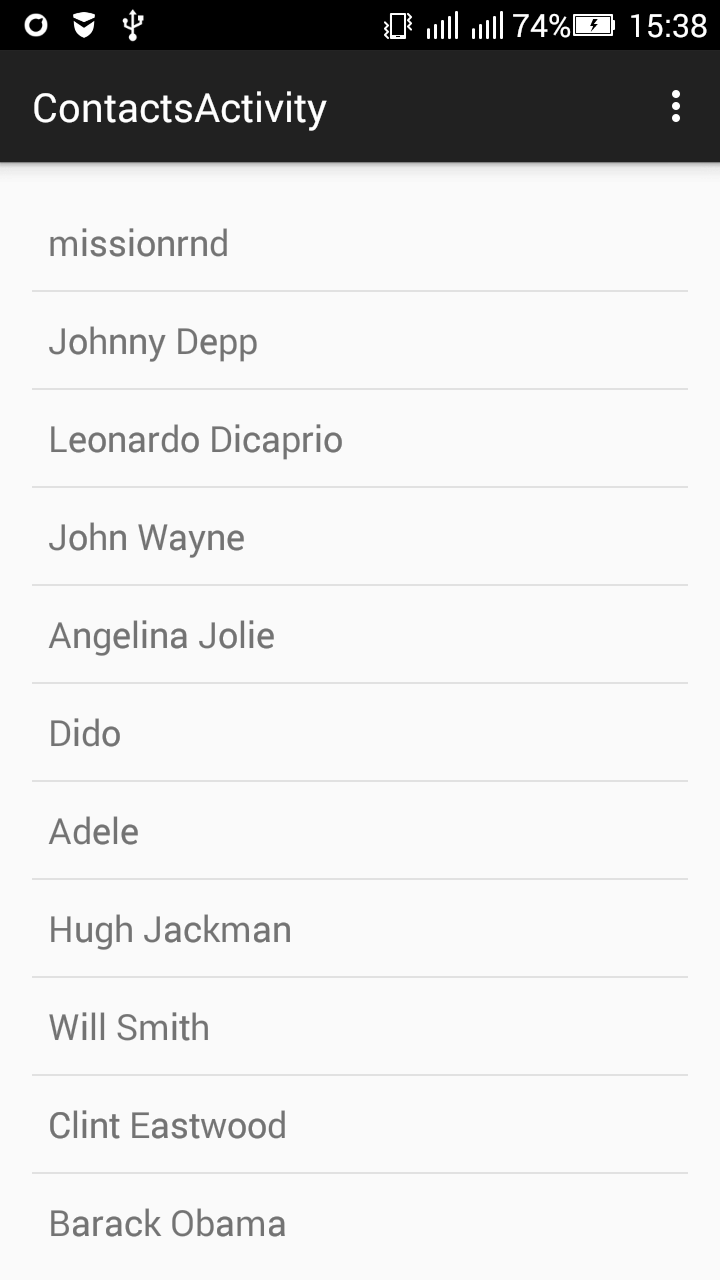
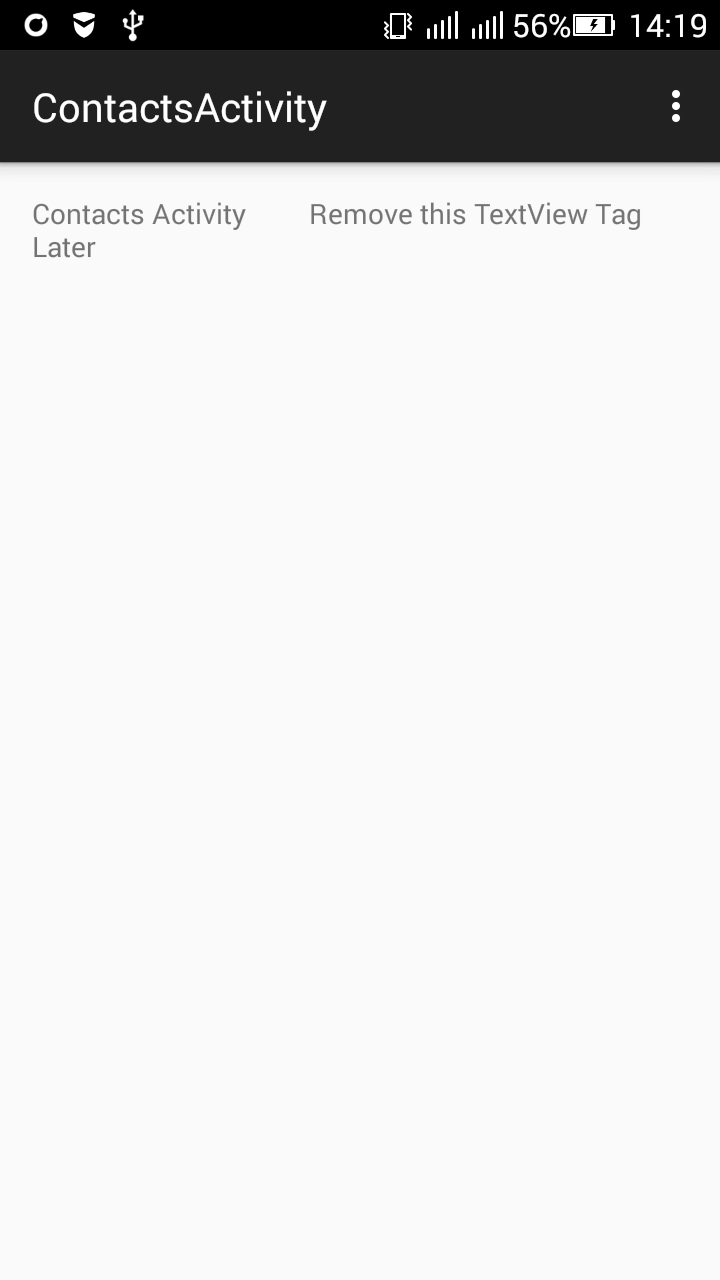
Contacts Activity
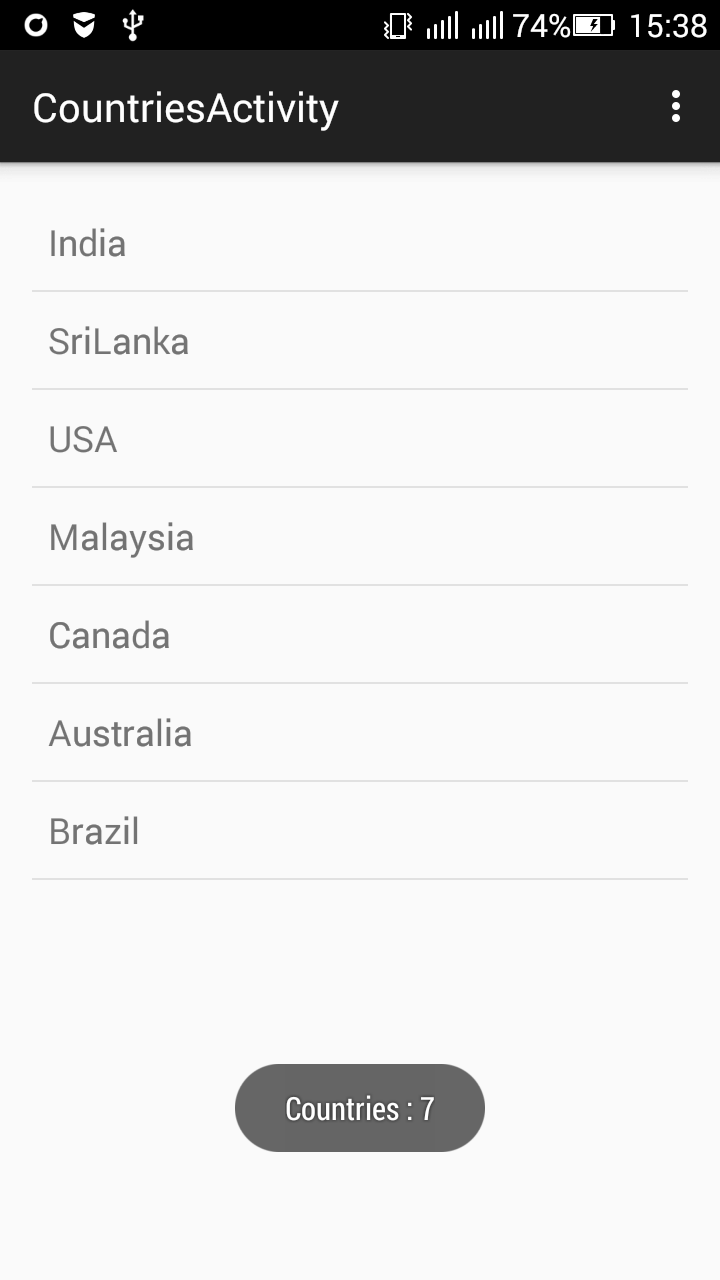
Countries Activity